Introduction
Owners of the Giant Innova bike may experience problems with the crankset after extended use. This bike was made in the early 90s, and some bikes still sport their original crankset. Over time, the crankset can develop rust and worn down teeth on its gears. A worn crankset can compromise your bike's performance and lead to issues such as a skipping chain. Replacing your crankset will lead to more fluid pedaling and gear shifting. This guide could be useful if you are attempting to replace a crankset on a similar bike such as another 90s roadbike; however, there are many different types of cranksets, so this is not a universal guide.
Tools
-
-
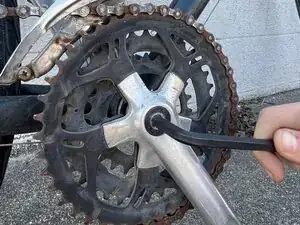
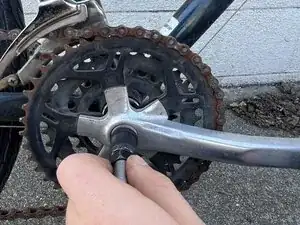
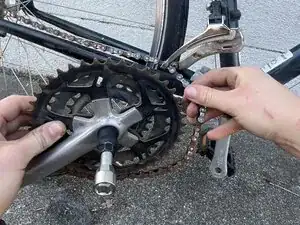
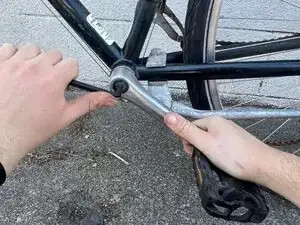
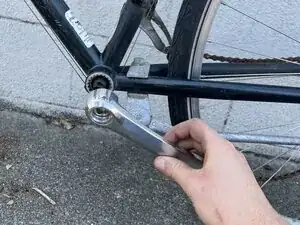
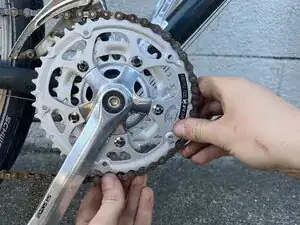
Insert a 5/16" hex key into the pedal axle (on the side of the crankset).
-
Turn the hex key clockwise on the pedal axle until the bolt is completely removed.
-
-
-
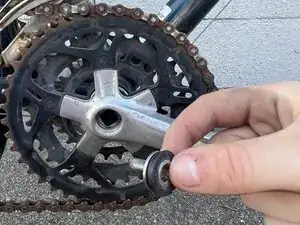
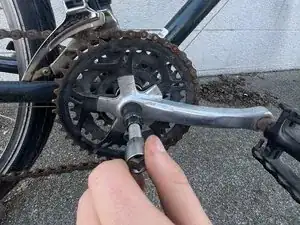
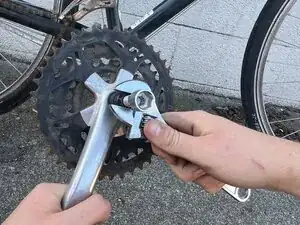
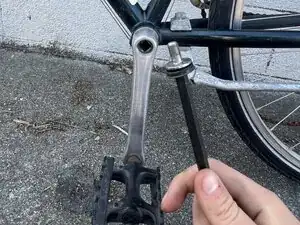
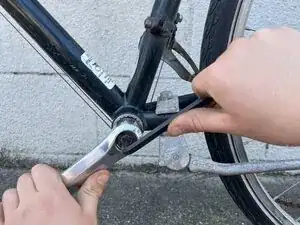
Turn the front segment of the crank extractor tool (the black part in the photos) clockwise until it is fully threaded into the hole. Use an adjustable or 15 mm wrench for the last couple of turns.
-
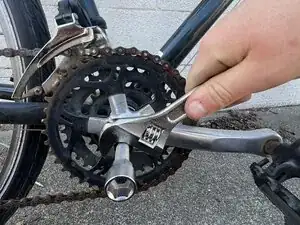
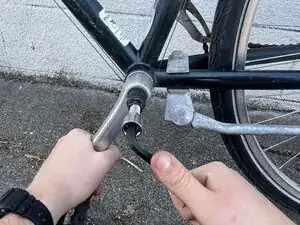
Place an adjustable or 15mm wrench on the protruding bolt of the crank extractor, which is the end closest to you.
-
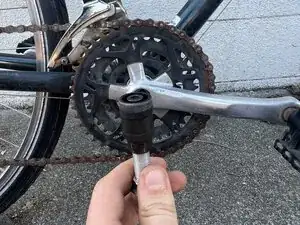
Turn the wrench clockwise to push the crankset off the spindle.
-
-
-
Remove the old crankset from the chain.
-
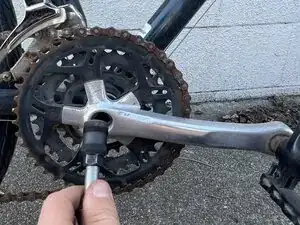
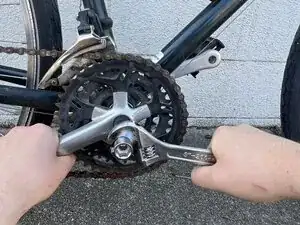
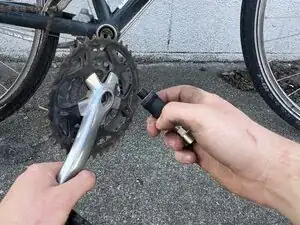
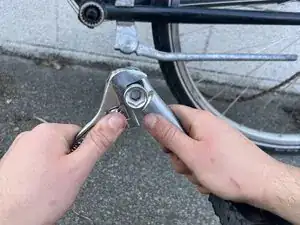
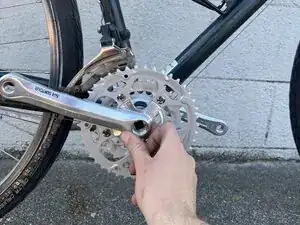
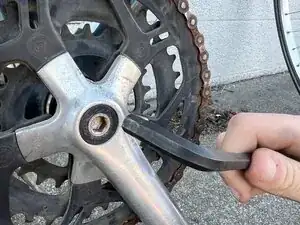
Place an adjustable or 15mm wrench on the bolt of the crank extractor.
-
Turn the wrench clockwise to unscrew the crank extractor from the crankset.
-
-
-
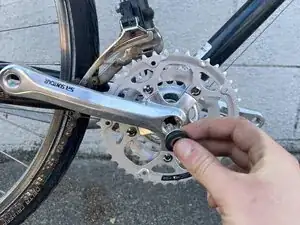
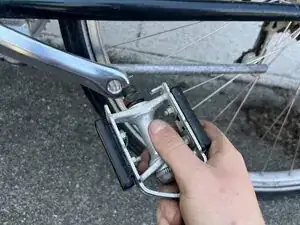
Insert a hex key into the pedal axle (on the side opposite of the crankset).
-
Turn the hex key counter-clockwise on the pedal axle until the bolt is completely removed.
-
-
-
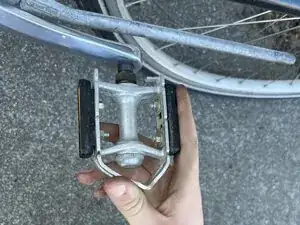
Use the crank-extractor to remove the left pedal using the same procedure as described in step 3.
-
-
-
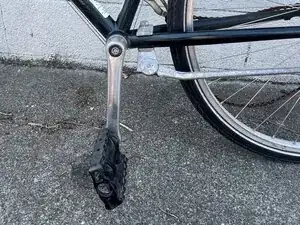
Place your new pedal arm on the bare square axle from which you just removed the old pedal arm.
-
Use a hex key to firmly tighten the axle bolt and secure the pedal arm, turning clockwise.
-
-
-
Place your new crankset on the exposed square axle on the right side of your bike.
-
Insert the remaining axle bolt into the center depression of the crankset and use a hex key to tighten. Turn the hex key clockwise until secure.
-
-
-
Pull your bike's chain over the gears of the crankset, ensuring the teeth and chain are fully interlocked.
-
-
-
Locate the hole on the end of your pedal arm and begin threading in the bolt at the end of your pedal with your fingers.
-
Once you have tightened the pedal as tight as possible by hand, use an adjustable wrench or 15 mm wrench to finish tightening.
-
Repeat step for right pedal.
-