Introduction

If your laptop sound begins to become distorted, staticky, Bluetooth audio not connecting, and overall faulty, this leads to the need of a Audio Board replacement. Use this guide to help replace your Audio Board from the comfort of your home.

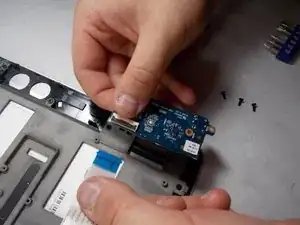
A audio board, also known as sound card is responsible for the output audio signals. It handles converting digital audio signals into analog signals that can be played through speakers or headphones, alongside managing input from audio sources such a microphone

Before beginning the process, please conduct test, such as clearing out the audio speakers ensuring nothing is covering them with a brush or a small air blower.

Please remember to turn off the device before starting the guide!

  1. NgneJwubiDwx4RBU
    • Place the laptop face down on a table.

  2. N2SWLKaVNtleJUJt
    N2SWLKaVNtleJUJt
    HGBa4HSewlWWVlv2
    • Lift up the back stand.

  3. XADGZfOdEhLBtyRG
    XADGZfOdEhLBtyRG
    k3RESqJxYJrEKNvM
    • Remove the five screws from the bottom of the back plate using a Phillips #1 screwdriver.

  4. Z5k6j3dbXOQdShpp
    • Remove four screws from the back stand hinges using a Phillips #1 screwdriver.

  5. wQiCwOLtK36DUtPR
    wQiCwOLtK36DUtPR
    ijTN5WQhbcVUJkOX
    • Remove the hinges and the back stand from the laptop.

  6. 2ZBVoWJ1OioaEUNj
    • Use a spudger to remove the thin panel where the back stand was.

  7. AVV1sN4lbfCWicoe
    • Remove the screws from the back panel using a Phillips #1 screwdriver.

  8. hoNJ3qBu3OsXKgxv
    hoNJ3qBu3OsXKgxv
    CWSyyVpVlc4DvsOE
    • Remove two side screws using a Phillips #1 screwdriver.

  9. AcGWQESSlNHOfGwn
    AcGWQESSlNHOfGwn
    HGl6nYMXstIS5BZm
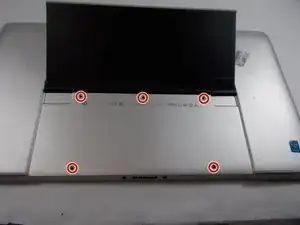
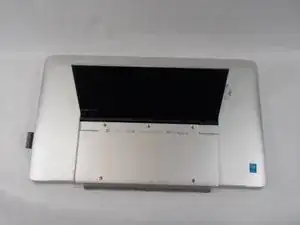
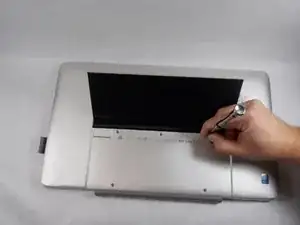
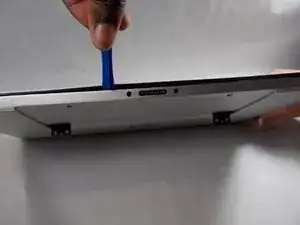
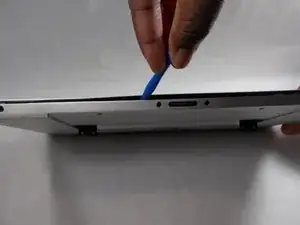
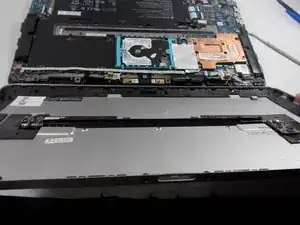
    • Pry apart the base from the screen by going around the entire perimeter with an opening tool.

  10. TQy1YrqyRnL4UNIL
    TQy1YrqyRnL4UNIL
    Cr1bvvrZLjkMninW
    • Remove the back panel from the laptop.

  11. 1fp32Se1FAQ12xul
    1fp32Se1FAQ12xul
    S6pGAMdWqNgeUdFx
    • Remove the three 6 mm screws from the audio board using a Phillips #1 screwdriver.

  12. D1EKOLqCTP14Mnvf
    D1EKOLqCTP14Mnvf
    LcY55KegEvS66YRN
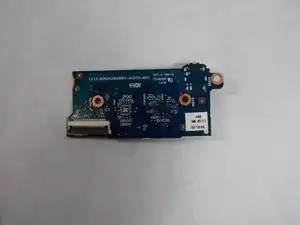
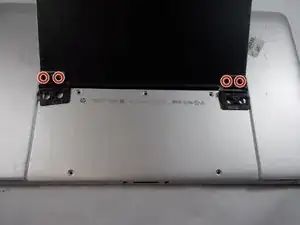
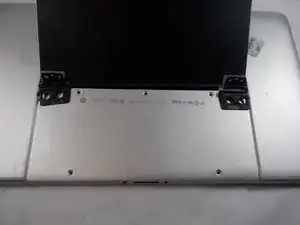
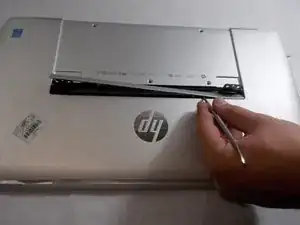
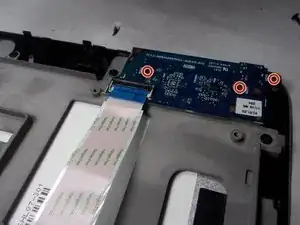
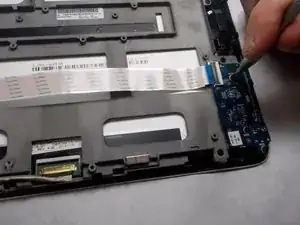
    • Flip up the black retaining flap securing the audio board's ribbon cable.

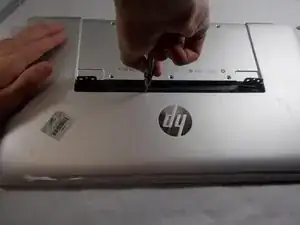
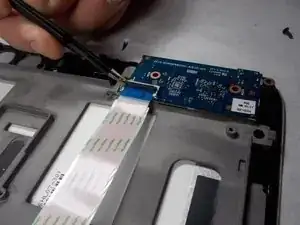
    • Slide the ribbon cable out of its connector on the audio board.

  13. d5E3vkWwPyxlpVJl
    • Remove the audio board from the laptop.

Conclusion

To reassemble your device, follow these instructions in reverse order.

Dylan Hathaway

Member since: 25/10/21

689 Reputation

0 comments