
Introduction
If your photos appear blurry or the camera lens is visibly cracked or scratched, replacing the camera lens on your HTC Touch can restore photo clarity. This guide will show you how to safely remove and replace the rear camera lens using basic tools.
Warning: Always be sure you are grounded whenever handling any of the circuit or logic boards.
For additional repair reference, see the HTC Touch HD Take Apart Repair Guide on Repairs Universe.
Although it's for a different model, the disassembly steps are similar and can provide helpful insight.
-
-
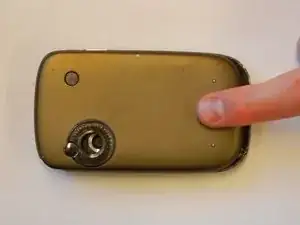
Slide the back panel upward using the grip at the bottom until it releases.
-
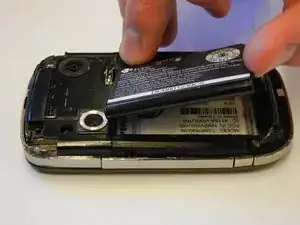
Lift and remove the panel.
-
-
-
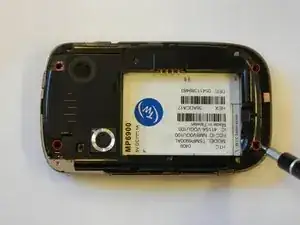
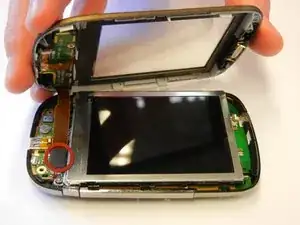
Use the plastic opening tool to remove the front panel from the phone.
-
Unplug the front button cable from the inside of the phone.
-
-
-
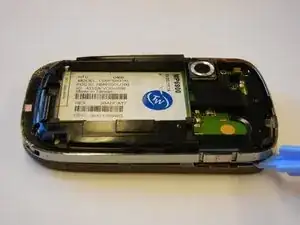
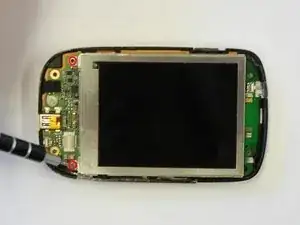
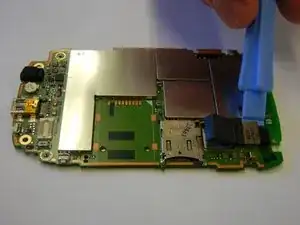
Seperate the motherboard from the black plastic casing.
-
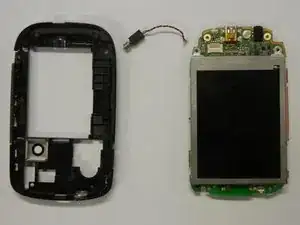
Unplug the black and red wire from the motherboard.
-
Unplug the black and red wire from the black plastic casing.
-
-
-
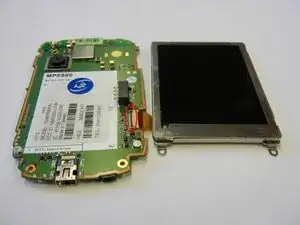
Remove the camera lens from the motherboard using the plastic opening tool.
-
Align and insert the new camera lens into the opening. Press it into place until it is secure.
-

You've successfully replaced your HTC Touch's camera lens! Test your camera to ensure the new lens works properly and your images are clear. To reassemble your device, follow these instructions in reverse order.