Introduction
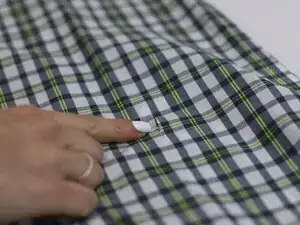
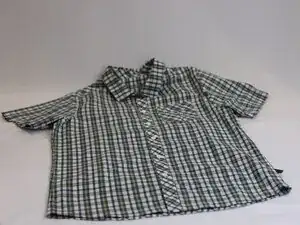
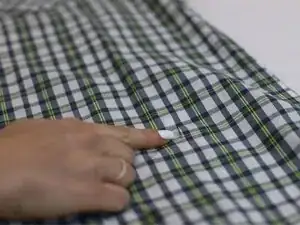
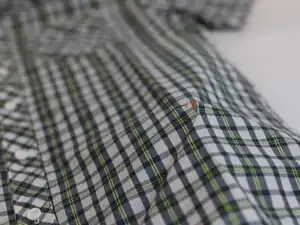
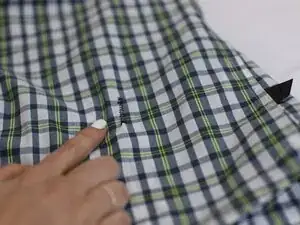
When you're out, especially during sports or outdoor adventures, your woven shirt can take a beating. But don’t fret! If you've got a sewing machine handy, those scratches can be easily fixed. This guide will take you through the steps in a fun and easy way, perfect for beginners and seasoned sewers alike. Let’s get your shirt looking as good as new!
➡️Before you get started, please check the safety disclaimer at the bottom of the page.
Tools
-
-
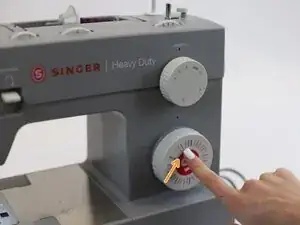
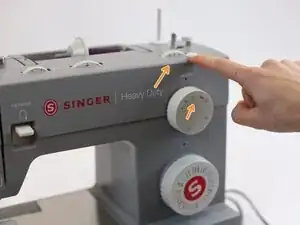
Adjust the sewing machine to the Zig-Zag stitch setting
-
Set it to a medium length (around 2.0 to 3.0 mm) for a balanced stitch.
-
Tip: Use the iFixit resources for setting up a sewing machine, and practicing basic stitch techniques on some scrap fabric first.
-
-
-
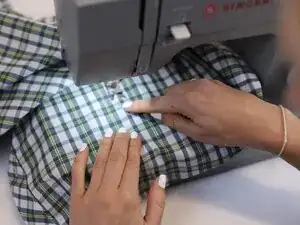
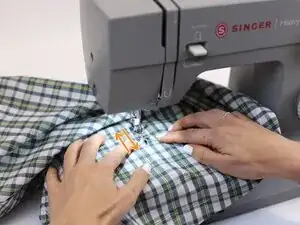
Carefully position one end of the repair under the needle. The fabric needs to be flat before sewing.
-
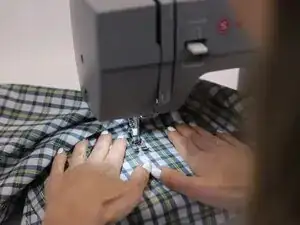
Make a locking stitch using the reverse lever, then sew a single stitch along the length of the seam.
-
Secure the stitch with another lock stitch at the end.
-
Tip: Make sure that there's only one layer under the sewing machine. Depending on the fabric, repeat the stitch 1-2 times if needed for extra durability.
-
-
-
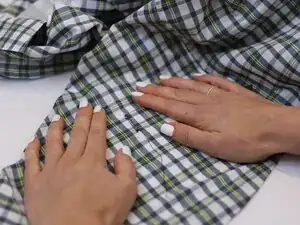
Remove the shirt from the sewing machine and inspect the repair. The old edges may be uneven, but the new stitch should look secure and well-fastened on both ends.
-
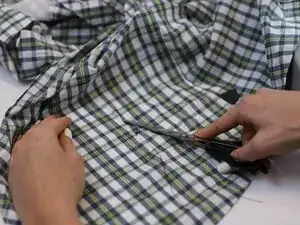
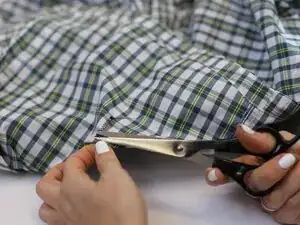
Use a pair of scissors to cut any loose threads.
-
In need of another repair? Don't worry! Check out our other guides to find quick solutions for your favourite clothing, footwear and equipment!
----------------------------------------
🚨🛠️🩹 IMPORTANT SAFETY NOTICE:
The repair guides provided on this site are intended to help you repair products on your own. While we have put a lot of care into them, all repair work carries some risk:
- Safety Precautions: When repairing your product, take all necessary precautions to ensure your safety. Use appropriate tools and follow the instructions carefully.
- Product Condition: Once your product has been repaired, it may not meet original compliance guidelines anymore and could potentially have issues.
- Liability: We are not responsible for any damage or injury that may occur during the repair process or as a result of using a repaired product. You, as the repairer, assume all risks and responsibilities associated with the repair.
By using these repair guides, you fully acknowledge and accept the potential risks and responsibilities involved.
