Introduction
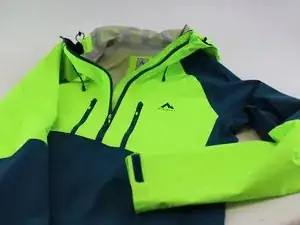
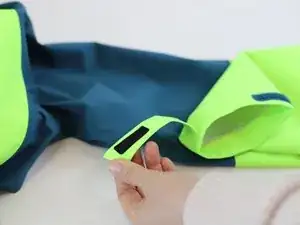
Hook and loop fastenings are quick and convenient for adjusting cuffs and hems on many sportwear items. But sometimes, the fastening is so strong, that repeated use can break the surrounding stitching. Especially on children's items, this can become very frustrating. In this guide, we'll show you how to repair this quickly and easily.
➡️Before you get started, please check the safety disclaimer at the bottom of the page.
Tools
-
-
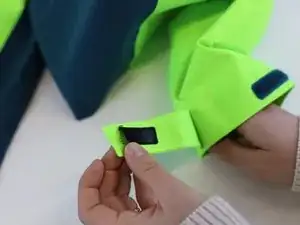
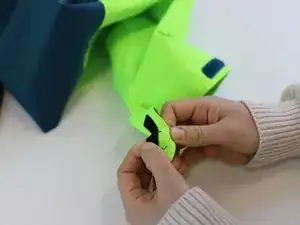
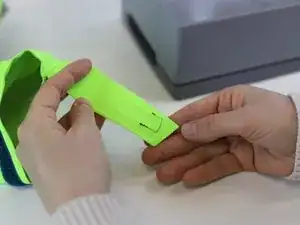
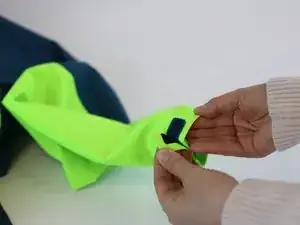
Check the defective area, and assess how big the repair will need to be.
-
Is the hook & loop part still mostly held in place with the original stitching? If so (like our example) then only a small repair is needed.
-
-
-
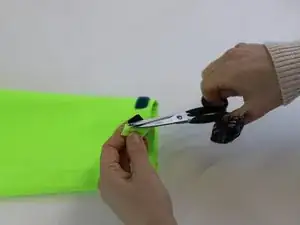
Cut away any damaged thread around the defect, to provide a clean base for the repair.
-
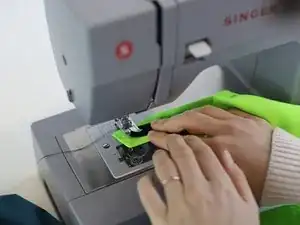
Then, position the item under the sewing machine, and make a small locking stitch with the forward & reverse function.
-
Tip: use the iFixit basic sewing resources for more help on sewing machine setup.
-
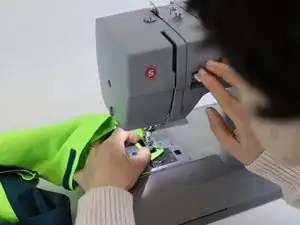
Continue sewing around the defective zone, following the line of the original thread.
-
-
-
🛠️🏆👏 Congratulations! The repair is complete, and you're ready to go!
-
Note: we have used a contrast thread and a basic sewing pattern to demonstrate this repair. Bu you can have fun with bright colours, or interesting stitch patterns to further embellish your repair.
-
In need of another repair? Don't worry! Check out our other guides to find quick solutions for your favourite clothing, footwear and equipment!
----------------------------------------
🚨🛠️🩹 IMPORTANT SAFETY NOTICE:
The repair guides provided on this site are intended to help you repair products on your own. While we have put a lot of care into them, all repair work carries some risk:
- Safety Precautions: When repairing your product, take all necessary precautions to ensure your safety. Use appropriate tools and follow the instructions carefully.
- Product Condition: Once your product has been repaired, it may not meet original compliance guidelines anymore and could potentially have issues.
- Liability: We are not responsible for any damage or injury that may occur during the repair process or as a result of using a repaired product. You, as the repairer, assume all risks and responsibilities associated with the repair.
By using these repair guides, you fully acknowledge and accept the potential risks and responsibilities involved.
