Introduction

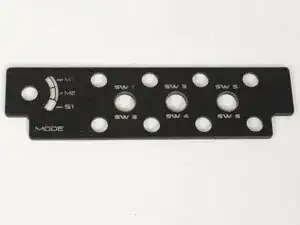
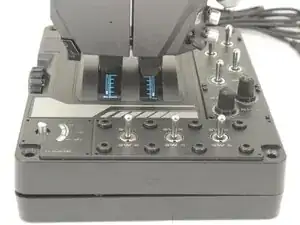
The label plate on the Logitech G X56 HOTAS Throttle covers several internal components, including toggle switches and their mounting points on the base plate. To access and replace any of these switches, the label plate must first be removed. This guide will walk you through the process of safely detaching the label plate without damaging the surrounding housing or connectors. Take care during removal, as the plate may be secured with adhesive or alignment clips that require gentle prying.

  1. lverxSIRXrXCNDxg
    • Place the throttle upside down with the bottom panel facing up.

  2. FiFWUHMeoygFcZUE
    FiFWUHMeoygFcZUE
    JSr3ckUQ21YQhhoE
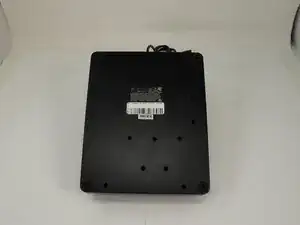
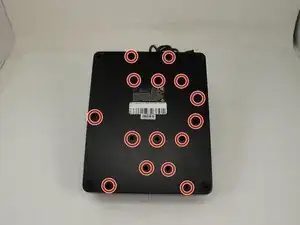
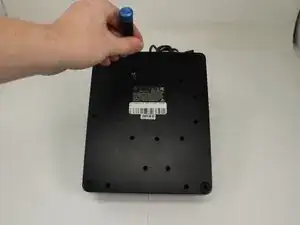
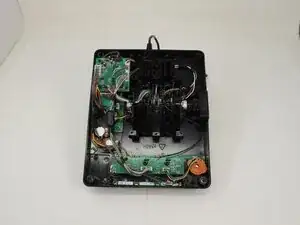
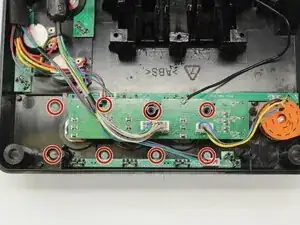
    • Remove the fifteen 13.6 mm Phillips #1 screws that secure the bottom panel to the base plate.

  3. 2JMhKbhdbi1ZEtIH
    2JMhKbhdbi1ZEtIH
    AVHtaxEKPKbw4mA1
    • Remove the bottom panel by lifting straight up.

  4. eoRHxl5ycyRA6UlT
    eoRHxl5ycyRA6UlT
    MimpKXKQRT2jhtTT
    • Remove the eight 8.6 mm long 1.5 mm hex screws from the label plate.

  5. sewIVEUHFuZhTSDW
    • Use an opening tool to pry off the mode switch knob.

  6. V5CCIAocJcpbC5YC
    V5CCIAocJcpbC5YC
    IQHVadsnMepTlPoo
    bUvEOKrat3tKoFWd
    • Remove the eight 12.5 mm long Phillips #1 screws from the underside of the label plate.

    • These screws are plastic! Be very careful when applying force.

  7. ZfZePEFDcCuZkfyh
    ZfZePEFDcCuZkfyh
    yoLHdpEoAuUOjjSh
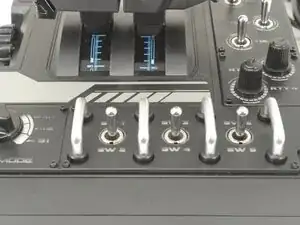
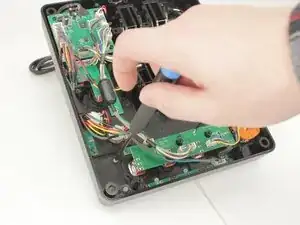
    • Place the throttle right side up again, using the bottom panel as a coaster.

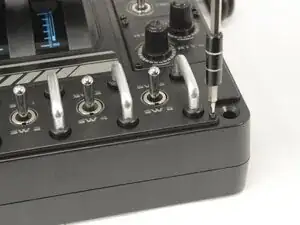
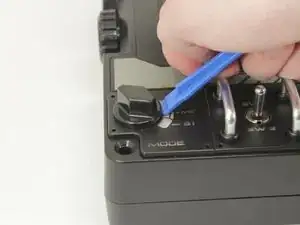
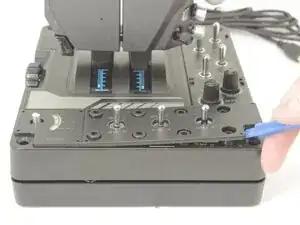
    • Gently pry the label plate from the body of the throttle.

Conclusion

To reassemble your device, follow these instructions in reverse order.

Elizabeth Matlock-Buchanan

Member since: 22/02/25

839 Reputation

0 comments