Introduction
Use this guide if you have a non-working or malfunctioning upper water-line in your Nespresso Vertuo Next. The water line is what transports water from the water tank to the puncture needle to pur water through the pod. Without the water line, the machine cannot pour hot water through the machine. With a damaged or loose waterline, water pressure will be at a loss due to possible leaks.
Before replacing the water line, make sure that there is a suitable amount of water in the water tank located at the back of the machine so that water can flow through the water line and into the pump. Check to see for any visible leaks, damage, or looseness at the connections of either the water tank or water pump. If connections are secure and unharmed, then replacing the water line may be the solution. Before replacing, check to make sure the water tank is completely empty and that the Vertuo Next is unplugged.
-
-
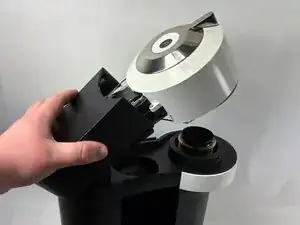
Side an opening tool in between where the top cover meets the white head piece and apply force to push the cover off.
-
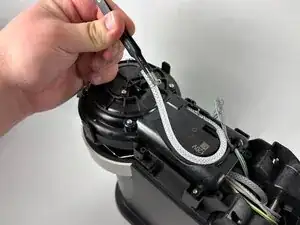
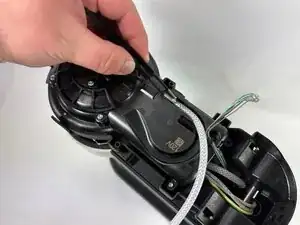
Remove the cover from the device.
-
-
-
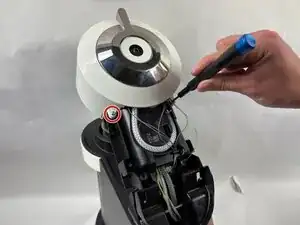
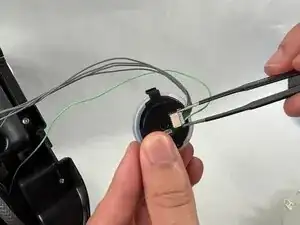
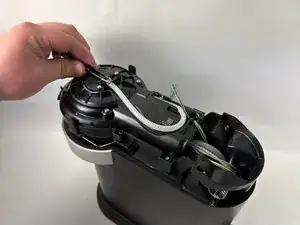
For the second clip on the lower part of the line, repeat the previous step. After the removal of the second clip, the remove the line.
-


To reassemble your device, follow these instructions in reverse order.