Introduction
If your volume, power, or slide buttons are not working, use this guide to help fix or replace them.
-
-
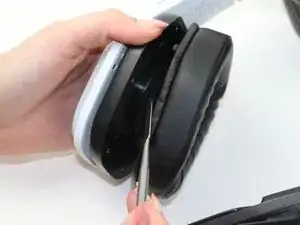
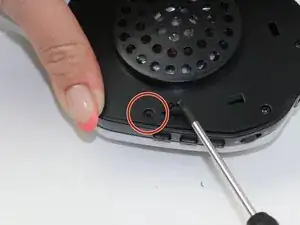
Using a Phillips #000 screwdriver, remove the 1st 9mm screw that secures the left head piece.
-
-
-
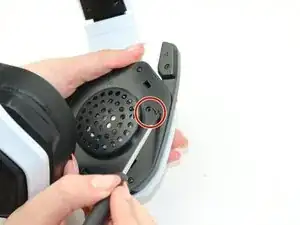
Using a Phillips #000 screwdriver, remove the 2nd 9mm screw that secures the left head piece.
-
-
-
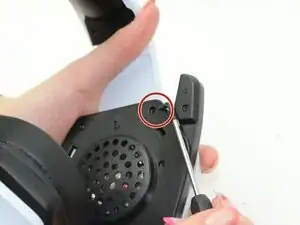
Using a Phillips #000 screwdriver, remove the 3rd 9mm screw that secures the left head piece.
-
-
-
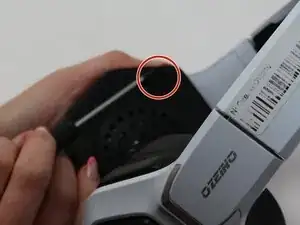
Using a Phillips #000 screwdriver, remove the 4th 9mm screw that secures the left head piece.
-
-
-
Using a Phillips #000 screwdriver, remove the 5th 9mm screw that secures the left head piece.
-
-
-
Using a Phillips #000 screwdriver, remove the last 9mm screw that secures the left head piece.
-
-
-
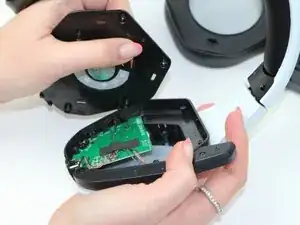
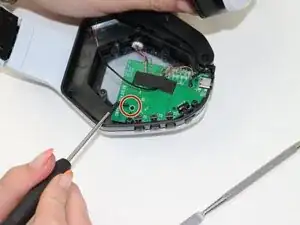
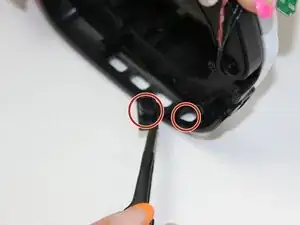
After opening the ear piece find the green panel and look for the 1st 7mm screw. Use the Phillips #000 screwdriver to remove the screw that is holding the green panel in place.
-
-
-
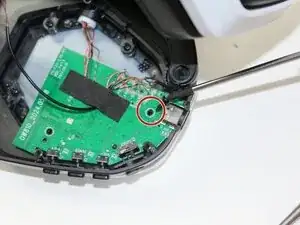
Use the Phillips #000 screwdriver to remove the 2nd 7mm screw that is holding the green panel in place.
-
-
-
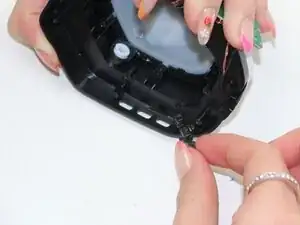
Using either your hand or the tweezers carefully remove the green panel from inside the headset.
-
-
-
After removing the panel, use either your hands or tweezers to carefully remove and replace the volume and power buttons.
-


To reassemble your device, follow these instructions in reverse order.