
Introduction
My Robot no longer detected its base. He came back, set up, but continued to move forward, even with the charging light on. He then left, had an erratic course and ended up going wrong.
See the behavior on the video
To confirm that the sensor is defective, use the optical barrier and ask the robot to do a cleaning. If it does not detect the optical barrier, the sensor is defective.
-
-
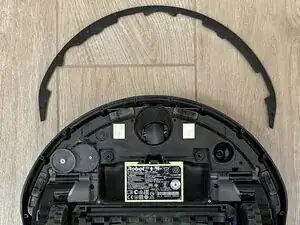
Remove the dust collector. Disassemble the 6 screws marked in blue. Then remove the brush spotted with the orange arrow. You can then remove the bottom of the robot
-
Remove the 10 screws marked in red. You can remove the bottom cover of the front "bumper".
-
-
-
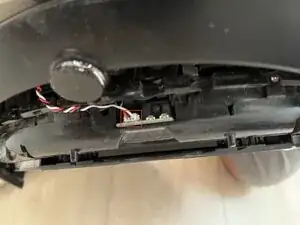
The lower cover of the bumper is removed. By lifting the robot you will be able to clear the "bumper" to access the sensor.
-
-
-
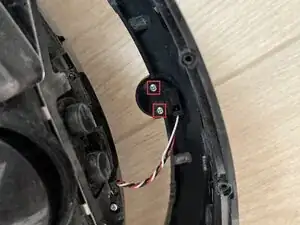
You must then unplug the sensor connector from your card. There are 2 screws to remove to disassemble the sensor
-
-
-
Here is the sensor that is easily found for sale on the internet by searching for "RCON Certified iRobot i7 Sensor Kit"
-
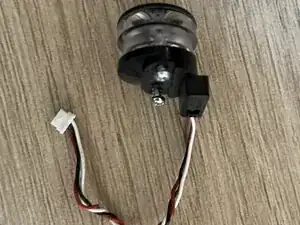
Mount the new sensor in the "bumper", connect it to its card
To reassemble your device, follow the instructions in reverse order.