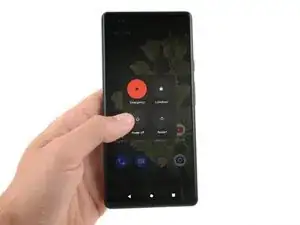
Allow your battery to drain below 25% before starting this repair. A charged lithium-ion battery is a potential safety hazard.
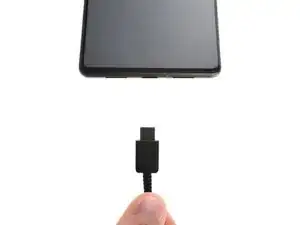
Unplug any cables from your phone and fully power it down.
If you purchased the iFixit kit, now is a good time to ensure you have all the parts: If you go to the kit page, and expand Kit Contents, you'll see the full list. The full list contains links to details on adhesive sets. These links are also in this guide document, in the upper right, in a scrollable window.⏎ ⏎ Newer batteries seem to come with the 1IP Torx Plus bit taped in the tray of the battery part tray (Repair Part box). It is not in the Tools, found in the Repair Tools box (if you purchased the Fix Kit).⏎ ⏎ Familiarize yourself with all the parts, including the six adhesive items. Ensure none of the components fell behind the parts tray and are left in the parts box (they are tiny adhesive tabs). The adhesive is VERY sticky. Don't remove the backing until you are ready to use, and then be prepared to lay the piece in place once ANY contact is made. Removal, even an edge, to better align an adhesive part is often not possible(!). The adhesive will stretch and bunch up.⏎ ⏎ As noted at the beginning of the guide, proper installation of the adhesive is required to maintain water resistance, but also to transfer heat correctly.


If you purchased the iFixit kit, now is a good time to ensure you have all the parts: If you go to the kit page, and expand Kit Contents, you'll see the full list. The full list contains links to details on adhesive sets. These links are also in this guide document, in the upper right, in a scrollable window.⏎
⏎
Newer batteries seem to come with the 1IP Torx Plus bit taped in the tray of the battery part tray (Repair Part box). It is not in the Tools, found in the Repair Tools box (if you purchased the Fix Kit).⏎
⏎
Familiarize yourself with all the parts, including the six adhesive items. Ensure none of the components fell behind the parts tray and are left in the parts box (they are tiny adhesive tabs). The adhesive is VERY sticky. Don't remove the backing until you are ready to use, and then be prepared to lay the piece in place once ANY contact is made. Removal, even an edge, to better align an adhesive part is often not possible(!). The adhesive will stretch and bunch up.⏎
⏎
As noted at the beginning of the guide, proper installation of the adhesive is required to maintain water resistance, but also to transfer heat correctly.
Chris Romer -