Introduction
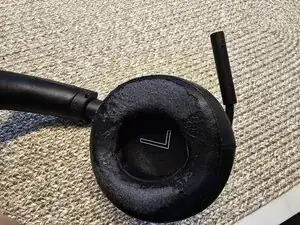
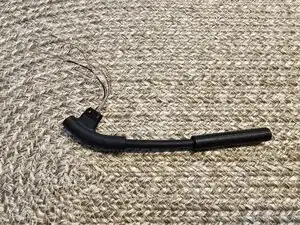
This guide will show you how to replace a microphone from an Xbox Wireless Headset. This repair requires the use of a soldering iron. Be very careful when soldering as the iron gets very hot and will burn you. Also, be sure to work in a well-ventilated area.
-
-
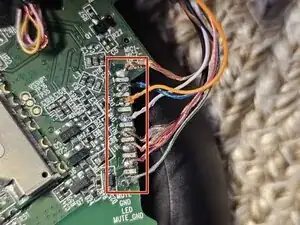
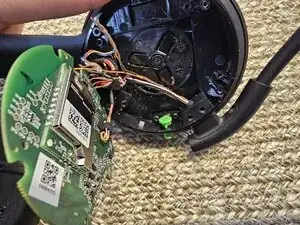
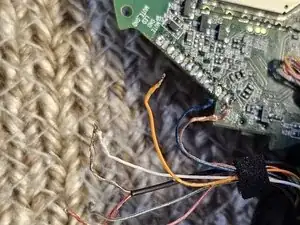
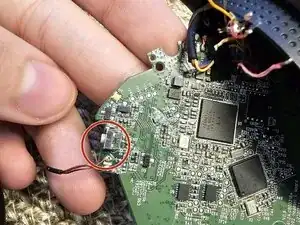
Use a soldering iron to desolder each wire of the microphone (it is recommended to take a picture of the wire of the circuit board).
-
-
-
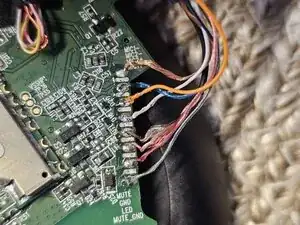
Grab your new microphone and connect each wire to the circuit board using your Soldering kit (Use the picture you took to connect the wires).
-
-
-
Once the wires are connected, turn on the headset to check if the microphone works, if so, carefully place all pieces back to how they were.
-
If the microphone doesn't work, check if the wires are connected in the correct order.
-


To reassemble your device, follow these instructions in reverse order. Take your e-waste to an R2 or e-Stewards certified recycler.